This is my final Extra Credit Page *sniff*
I have really enjoyed this class and learned much more than I knew before
|
|

|
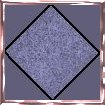
I started with a new 50X50 image and filled it with a dark blue color. Next i used the
"Spray Can" with paper texture set at "Fog"
I "sprayed" the image with a few short clicks using a lighter blue. Next I rotated the
image to the right at 45%.
As a result of having the dark blue set as my background color when I rotated the image & a little
touch up with the "Paintbrush" using a little black paint to better define the different
areas, I ended up with, IMHO, a very nice background!
(Not to mention a very long run-on sentence too! ;o})
|
|
|
|
|
Next is an example of a "Faux" Image Map. This effect was achieved by creating one
image, then selecting three equal parts, copy & pasting as new images, ending with three separate
images.


The "trick" to making it come together is in the HTML code!
By making sure you have no spaces or line breaks in your code the parts of your image fit nicely
together.
|
|
<img src="gbsignme1.gif" width="75" height="75" align="absmiddle" border="0"><img
src="gbwood.gif" width="150" height="75" border="0" align="absmiddle"><img src="gbviewme1.gif"
width="75" height="75" align="absmiddle" border="0">
|
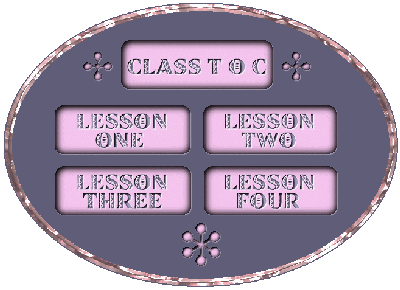
I felt the Creativity Monster rearing it's not-so-ugly head again and came up with my next image. This
image also doubles as an Image Map.
I utilized "Live Image" to
help with the techy part :o}
|
|
|
|
|
I would like to take this time, to thank Lori for being our Instructor for this session of
ZD University's
Lori, this award is for YOU!
|
|

|
|
|
|
|
|
|
|