
PSP LESSON 3 ~ Extra Credit


Pretty Bar


Black & White


I now have a new respect for Ted Turner!
(At least a new respect for the flunkies that Ted has working in the colorization factory!)

I took 3 different color images, changed them
to grey scale, and then colorized parts of them


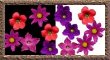
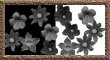
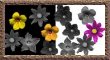
This first one was a tuffie.  The first thing I did was to change the image to grey scale.

Next I added a "New Layer"

Then I tried to use the "Magic Wand" to select the areas I wanted to colorize.

I must have went thro a g'azillion "Tolerance Settings" before I found the ones that would let me select the areas I wanted!

I then used the "Fill Tool" to fill my selected area with color.

I then changed the "Blend Mode" on that layer to "Overlay" so the original detail would show thro the color.

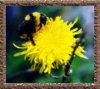
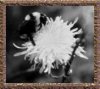
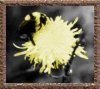
Original Flowers Grey Scale Flowers Colorized Flowers


This next group was a tad bit easier.

(Reading the assigned chapter helped, DUH!)

Again, I added a "New Layer".  But, for this one, I used the "Magic Wand" to select the areas I wanted to colorize BEFORE I changed to grey scale.

Using this technique really helped make the selection part easier.

Original Bee Grey Scale Bee Colorized Bee


Now that I know what I'm doing I'm gonna have some fun!

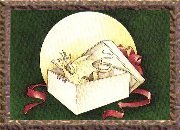
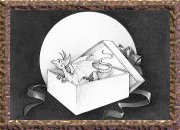
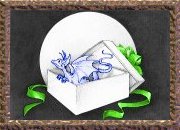
I found an image that I really liked and the rest is "HISTORY!!!"
 
Original Dragon My Original Dragon
 
Any guesses about
what this one is?
I bet you know what this one is
 
Same 'ole Drill Come on, you've gotta
know the drill by now!
 
Pretty Bar
 
Tubes
 
I tried my hand at making a "TUBE".  Below is an example of my Masterpiece.

Believe it or not, I scanned the image I used for this tube from a Paper Towel!

I then added my own special touches... and, Voila... a "TUBE"
 
{o: My own special creation :o}
 

If you really like my tube
and promise to give it a good home

You can download it HERE and use it to your hearts content :o}

 
Pretty Bar
 
Please Email ME! Take me back to class!


Back to Class Index