
|
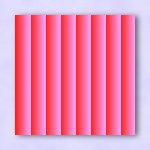
The Gradient Designer also comes with many presets and allows you to save your own. As with the Sphereoid assignment my first gradient was created with a preset base. I started with the Blue and Red Venetians preset, changed the colors then adjusted the following settings: |
|
MODE:
LOOP: REPEAT: OPACITY: GLUE: ANGLE: |
Linear Blend
Sawtooth A>B / No Distortion 8 100% Normal 180° |
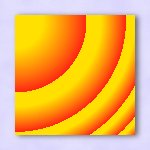
The next two were created without the use of a preset base.
|
MODE:
LOOP: REPEAT: OPACITY: GLUE: |
Circular Sunburst
Sawtooth A>B / Pinch Right 5 100% Darken Only |
|
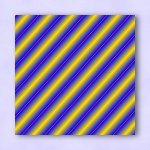
MODE:
LOOP: REPEAT: OPACITY: GLUE: ANGLE: |
Linear Blend
Triangle A>B>C / No Distortion 10 100% Multiply 42° |
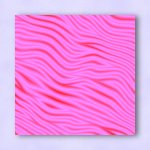
The Texture Explorer is a lot of fun and also comes with many presets and as with the other KPT it allows you to save your own presets.
|
DIRECTION:
OPACITY: GLUE: GRADIENT: |
143°
100% Normal OMS Pink Blinds |
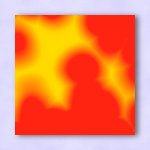
|
DIRECTION:
OPACITY: GLUE: GRADIENT: |
0°
100% Procedural - OMS Sunbird |
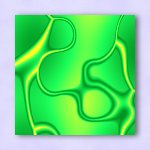
|
DIRECTION:
OPACITY: GLUE: GRADIENT: |
0°
100% Procedural + deep of forest |
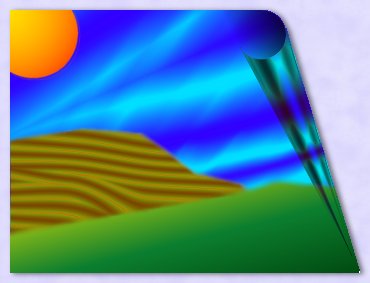
This next image was created entirely with KPT v3. I used the Gradient Designer, Texture Explorer & Page Curl


..::(o):: (o) ::(o)::...
Design and Custom Site Graphics © 2001 - 2004 OuttaMyShell Digital Studios
exclusively for OMSDS Class Assignments at . All Rights Reserved.
~ on-line ~
Best viewed with version 6+ browsers, javascript enabled, 1024X768 resolution.
This site and it's contents may not be reproduced in any way without express written permission from the .

exclusively for OMSDS Class Assignments at . All Rights Reserved.
~ on-line ~
Best viewed with version 6+ browsers, javascript enabled, 1024X768 resolution.
This site and it's contents may not be reproduced in any way without express written permission from the .